

Dreaming of a beautiful gallery wall but terrified of getting it wrong? This foolproof guide provides easy-to-use layout templates and pro tips to help you arrange your art like a designer. A gallery wall is the ultimate way to infuse your personality into your home. But figuring out how to arrange a gallery wall can feel like a daunting puzzle. Don’t worry. We’re here to demystify the process and show you exactly how to create a gallery wall that looks intentional, balanced, and beautiful.

Before You Hammer: The 3 Golden Rules of Gallery Walls
Before you even think about picking up a hammer, keep these three golden rules for a gallery wall in mind. They are the foundation of any successful arrangement.
Rule 1: Find a Common Thread (Color, Theme, or Frame)
To make a diverse collection of art feel cohesive, you need a common thread. This could be a shared color palette (e.g., all pieces contain a hint of blue), a consistent theme (e.g., all landscapes), or uniform frames. This thread will tie everything together.

Rule 2: Consistent Spacing is Key
The secret to a professional-looking gallery wall is consistent spacing. The distance between each frame should be the same, typically 2-3 inches. This creates a sense of order, even in the most eclectic arrangements.
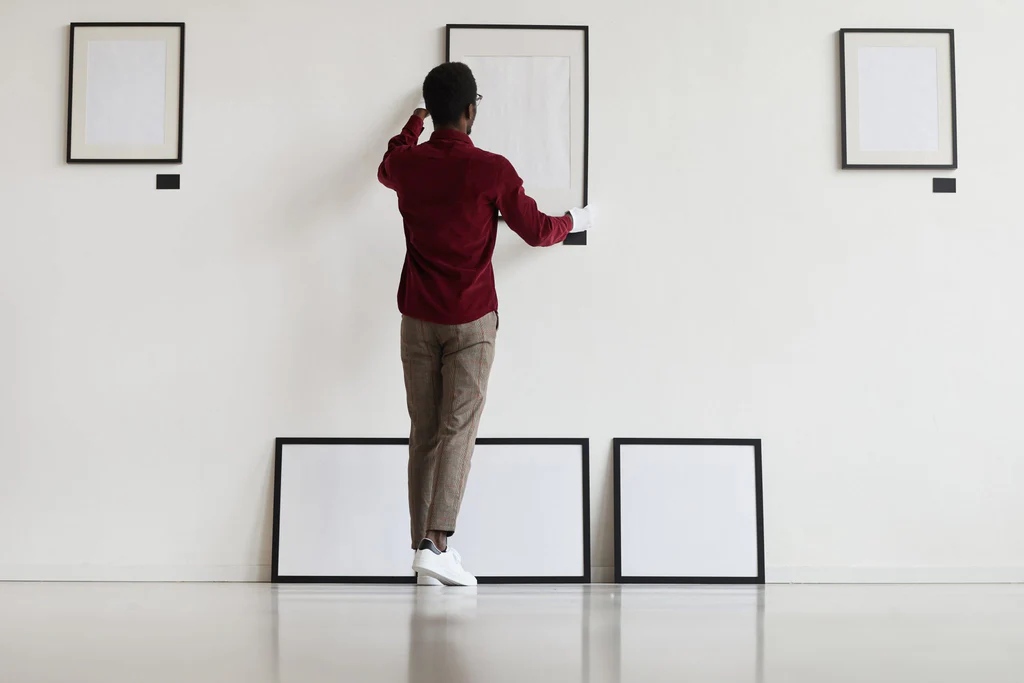
Rule 3: Plan on the Floor First!
This is the most important tip of all. Before making any holes in your wall, lay out your entire arrangement on the floor. This allows you to play with the composition and get it perfect without any risk.
The Classic Grid: A Symmetrical Gallery Wall Layout
This is one of the most popular and timeless gallery wall ideas. It’s clean, organized, and always looks chic.
Best For: A Formal, Organized, and Modern Look
A symmetrical grid layout is perfect for creating a sense of order and calm. It works beautifully in dining rooms, home offices, or minimalist living rooms.

How to Achieve It: Use Same-Sized Frames and Precise Measurements
To create a grid, you’ll need artworks that are all the same size and orientation. Use a tape measure and a level to ensure your spacing is perfectly even, both horizontally and vertically.
Our Curated “Art Set” Picks for a Grid Layout
The easiest way to achieve this look is with a pre-selected art set. Our collections of minimalist or geometric paintings are perfect for creating a stunning grid. Ready to create the perfect grid? Explore our collection of same-sized art sets.
The Organic Cluster: An Asymmetrical, Collected Look
If you want a more relaxed, personal, and story-driven wall, the organic cluster is for you.
Best For: An Eclectic, Personal, and Story-Driven Wall
This asymmetrical layout is perfect for mixing different art styles, sizes, and even personal photos. It creates a wall that feels like it has been collected over time.
How to Achieve It: Start with an Anchor Piece and Build Outwards
Begin by placing your largest or most important artwork (the anchor piece) slightly off-center. Then, arrange your other pieces around it, balancing larger items with smaller ones to create a pleasing, organic shape.
Mixing Art Styles, Sizes, and Orientations
This is where you can have fun mixing art styles! Pair a textured painting with a simple line drawing, or a vertical piece next to a horizontal one. The key is to maintain that consistent spacing you established in Rule 2.
The Staircase Ascent: A Dynamic Diagonal Layout
Don’t forget the stairs! This is a prime location for a dynamic gallery wall.
Best For: Decorating a Stairwell Wall with Style
This layout turns a functional space into a beautiful journey. It’s one of the best picture wall ideas for adding character to a multi-level home.
How to Achieve It: Follow the Angle of the Stairs
The method is simple: hang your artworks so they follow the diagonal line of the staircase. A good tip is to have the center of each painting align with an imaginary line that runs parallel to the stairs.
Your Step-by-Step Guide on How to Hang a Gallery Wall
You’ve got your rules and your layout. Here’s a simple step-by-step guide to bringing it to life.
Step 1: Gather Your Art and Choose Your Layout
Collect all the pieces you want to hang and decide which of the layout templates above best fits your style and space.
Step 2: Create Paper Templates of Your Frames
Trace each frame onto craft paper or newspaper and cut them out. This is a game-changing trick.
Step 3: Tape Your Templates to the Wall and Adjust
Using painter’s tape, stick your paper templates to the wall. This is your chance to perfect the layout and spacing without making any commitment. Move them around until you are 100% happy.
Step 4: Hammer Your Nails and Hang Your Art!
Once your templates are perfectly placed, hammer a nail through the top center of each paper template. Then, tear the paper away and hang your art. It will be perfectly placed every time.
Stop Dreaming, Start Curating Your Story
With these simple rules, layout templates, and a step-by-step guide, the gallery wall of your dreams is no longer intimidating. It’s an achievable and incredibly rewarding project. You are not just decorating; you are curating the story of your home.
Your story is worth more than one frame. Start curating your personal gallery today by exploring our diverse collections at Oilarthub.
Your Gallery Wall Layout Questions Answered
What tools do I need to hang a gallery wall? You’ll need a hammer, nails or picture hooks, a tape measure, and a level. The paper template method described above is also highly recommended!
How do I make sure all my pictures are level? A small bubble level is your best friend. Use it on the top edge of each frame as you hang it. For a grid layout, using a laser level can make the process even faster and more precise.
Can I create a gallery wall on a textured or brick wall? Yes, but it requires the right hardware. For brick walls, you’ll need to drill into the mortar and use wall anchors. For textured plaster, you may need longer nails to ensure a secure hold.
Where can I find a good art set to start with? The easiest way to start is with a curated art set where the pieces are already designed to complement each other. You can find beautiful, handcrafted sets in various styles right here at Oilarthub.
ed, and beautiful